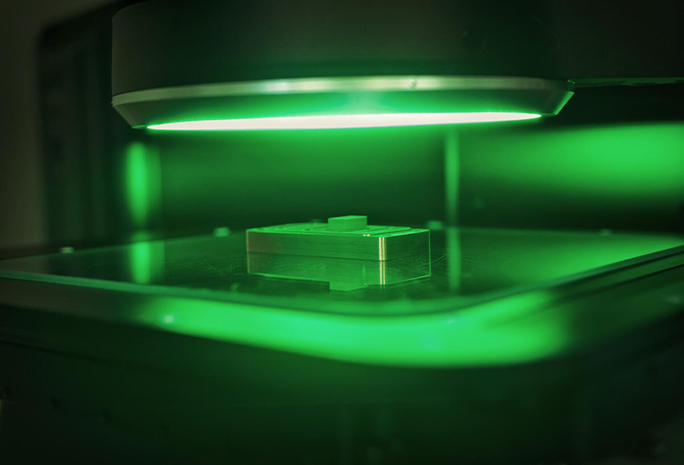
Rigorous Quality Checks at Every Stage: Ensuring Excellence from Concept to Completion.
Uncompromising Quality at Every Stage: Delivering Precision for Critical Industries
At Coining, quality isn’t just a standard—it’s the foundation of everything we do. Every component we produce undergoes meticulous inspection and testing to ensure it meets the most demanding industry standards. Our commitment to excellence drives us to deliver high-precision, reliable products that perform flawlessly in critical applications.
Our Quality Commitment Includes:
Rigorous Inspection & Testing:
Advanced measurement systems and state-of-the-art inspection equipment verify every detail, ensuring components meet strict tolerances.
Integrated Quality Control:
From initial design to final production, every process is monitored and refined to guarantee consistent, high-performance results.
Continuous Improvement:
Our dedicated quality team continually evaluates our methods, driving enhancements that elevate our manufacturing processes and product reliability.
Customer-Focused Excellence:
We work closely with our clients to tailor quality standards that not only meet but exceed expectations, ensuring optimal performance in every application.
At Coining, our unwavering commitment to quality is at the heart of our operations—delivering precision-engineered components you can trust.


We manufacture customized measuring tools that are essential for precision, ensuring each component meets exacting standards. Tailored for accuracy, our tools support rigorous quality control, reducing errors and enhancing product reliability.

Driven by quality, we are committed to using state-of-the-art measuring tools to ensure every component meets the highest standards. Our dedication to precision and reliability empowers us to deliver exceptional results, every time.

Utilizing state-of-the-art technology, we measure critical edge features with unparalleled precision, ensuring each component meets exacting quality and tolerance standards. Our meticulous approach enhances reliability and performance, delivering superior results for the most demanding applications.
Industries Served
Your partner in excellence.
ISO 9001
AS9100
ITAR Registered